
I had a customer ask for advice on how I add bindings to my quilts, as I had a small quilt in the queue to bind I thought I'd use it for a tutorial so here it is.....
This tutorial will be linked to the tutorial page, click on the 'Tutorial' link page above and you will always find it there along with a few other links......
It's a baby quilt it measured roughly 30x40 inches, so that is (30x2)+(40x2)+10 inches for the join = 150 inches of binding. Most fabric yardage is between 40 and 44 inches. I divide my 150 by 40 to be on the safe side, 150/40=3.75, I round that figure up to 4 full strips. I usually cut my binding strips at 2.25 inches, 4x2.25=9 inches so the minimum binding fabric needed for this small quilt is 9 inches....

My fabric piece was 10 inches, as you can see I had an inch to spare.
 Join all of the strips together on the bias, you don't need to trim off the selvages before hand. If you need to you can mark and pin, I don't, I just sew from notch to notch as you can see by the marked line above.

Trim your seams to a quarter inch./


Press the seams open and then press the strip in half.

Starting about 8 inches from a corner sew on the binding (leaving a 6 inch tail as seen above,) if you have one use a walking foot and a quarter inch seam, I usually move my needle to the left by one notch, if you have that option you could try it. Otherwise remember that your walking foot should have quarter inch markings to guide you, they are not always easily seen but will be there. See end note for wider bindings.....


Flip the binding back into your lap, and finger press a 90 degree crease into the binding as above, the fold of the crease should be level with the edge of the quilt, as above, (you can see the shadow of the first diagonal crease which is still in place below it).

Stitch straight on to the edge of the binding in this direction. Carry on around the quilt turning the corners in this way as you get to them. When you come near to the beginning tail of the start stop about 5-6 inches from the start.


Find a spot about the middle of the gap and cut one edge of the binding straight as above.


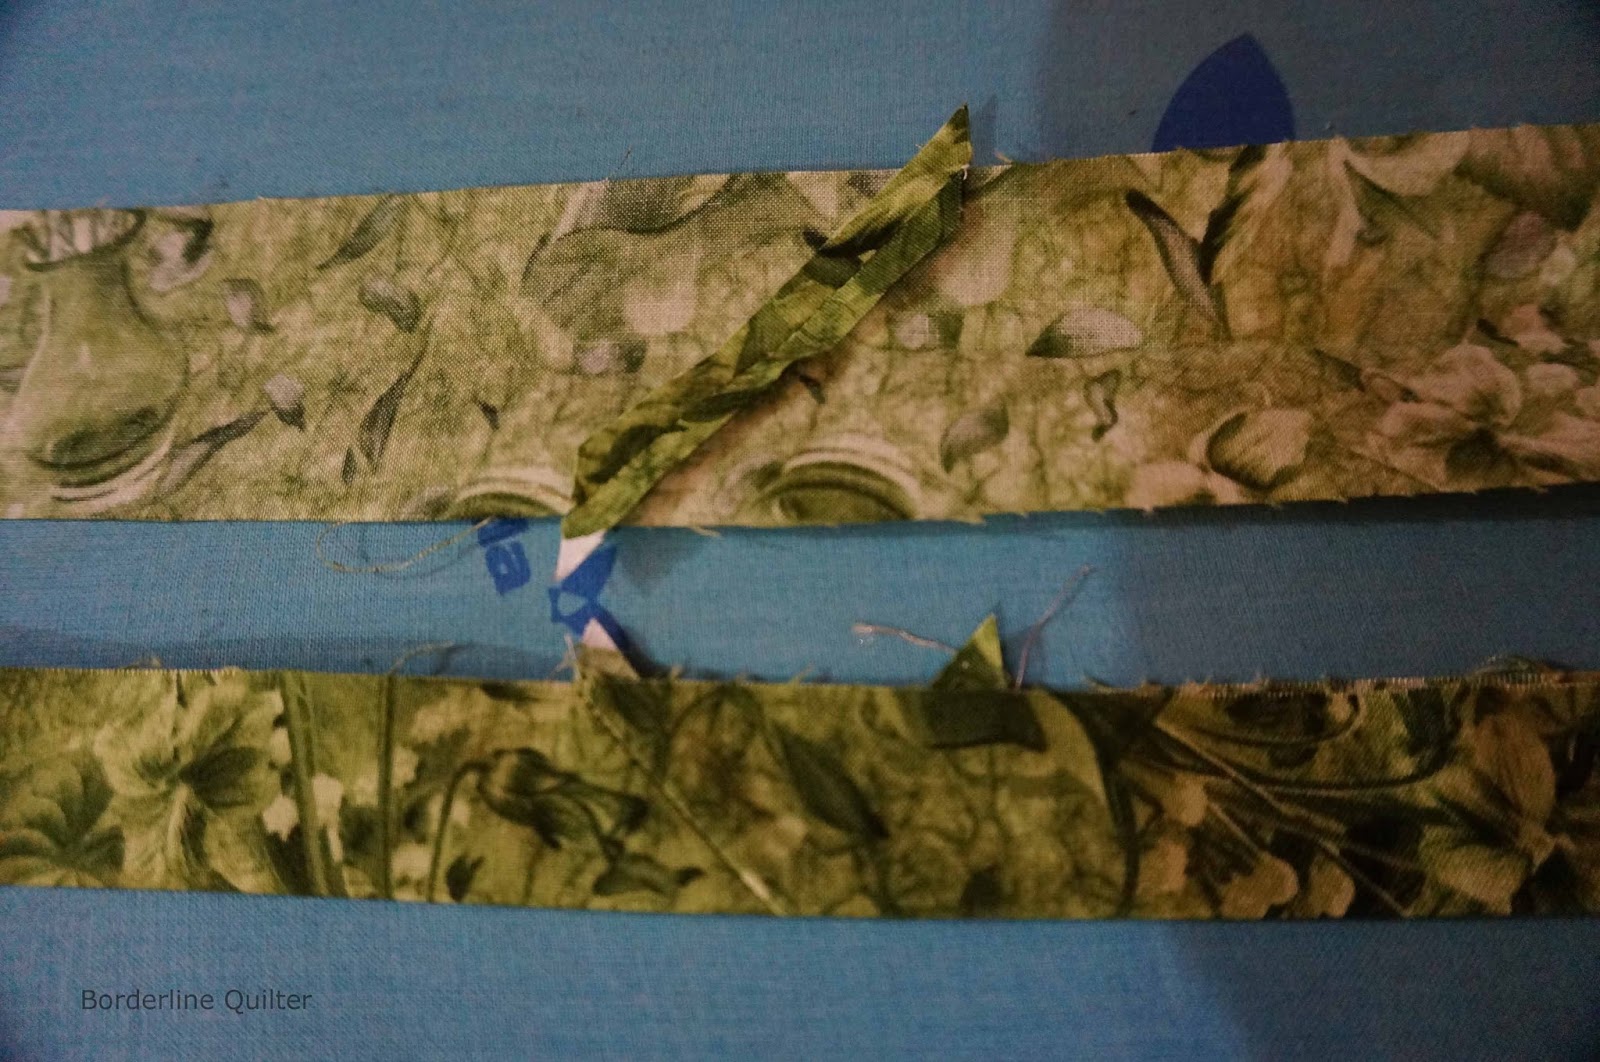
Open the ends of the binding and turn the ends as in the photo above....


Bring the ends together to make a 90 degree angle, line up the corner and the edges, this time there will be no notches to guide you on this join, there will be a twist on one end of the fabric, it looks strange but is necessary, pin and mark the sewing line if necessary from the corner point of the top piece to the corner point of the bottom piece. We need to sew across the corner not into it!


Sew the seam on the line, this can be tricky to manoeuvre but if can be done with patience. Before trimming open up the piece and check that it will lay straight and is not twisted.

Again, before trimming check the binding isn't twisted, it is a good habit to get into. Trim off the corner to a quarter inch seam on the pin side

Close the gap with your quarter inch seam

I usually hand stitch my binding to the back of the quilt using a slip stitch or a ladder stitch, a fine needle and a thread that matches the binding, the above photo shows how the corners just fold into place easily and give a mitred corner.


All done and ready for delivery back to my customer.
End note!
I usually add a 2.25 inch double fold binding, if you wanted a binding to make more of a statement then you could cut your binding strips at 3 inches wide, this would mean that the end cut would also overlap by 3 inches, whatever the cut width of the binding strip is the width of the overlap.
Also, if you cut a 3 inch binding strip this needs to be sewn on with a 5/8th inch seam so that the binding is full of quilt and the corners naturally fall into the mitre. Machine sew all of the binding onto the quilt with a 5/8th inch seam, stopping 5/8ths inch before the corners. Play with this measurement and the needle position on your machine to get the correct needle position and seam width for the binding width of your choice.

This tutorial will be linked to the tutorial page, click on the 'Tutorial' link page above and you will always find it there along with a few other links......
It's a baby quilt it measured roughly 30x40 inches, so that is (30x2)+(40x2)+10 inches for the join = 150 inches of binding. Most fabric yardage is between 40 and 44 inches. I divide my 150 by 40 to be on the safe side, 150/40=3.75, I round that figure up to 4 full strips. I usually cut my binding strips at 2.25 inches, 4x2.25=9 inches so the minimum binding fabric needed for this small quilt is 9 inches....

My fabric piece was 10 inches, as you can see I had an inch to spare.


Trim your seams to a quarter inch./

Press the seams open and then press the strip in half.

Starting about 8 inches from a corner sew on the binding (leaving a 6 inch tail as seen above,) if you have one use a walking foot and a quarter inch seam, I usually move my needle to the left by one notch, if you have that option you could try it. Otherwise remember that your walking foot should have quarter inch markings to guide you, they are not always easily seen but will be there. See end note for wider bindings.....


When you come to a corner stop stitching quarter inch from the corner, use the guide on your walking foot if necessary, do not trim the threads leave them long.

Take the quilt from the machine and turn, fold the binding end and throw it away from you behind the machine. Finger press a crease on the diagonal as above.


Flip the binding back into your lap, and finger press a 90 degree crease into the binding as above, the fold of the crease should be level with the edge of the quilt, as above, (you can see the shadow of the first diagonal crease which is still in place below it).

Stitch straight on to the edge of the binding in this direction. Carry on around the quilt turning the corners in this way as you get to them. When you come near to the beginning tail of the start stop about 5-6 inches from the start.


Find a spot about the middle of the gap and cut one edge of the binding straight as above.

Overlap the other end, mark the binding right where the cut end lies underneath, measure 2.25 inches and mark another line (when you have experience of this type of binding you may not need to mark) and cut another straight edge, we have an overlap of 2.25 inches. Why 2.25 inches, see end note!


 |
| Mark a stitch line on the wrong side if it helps |


Bring the ends together to make a 90 degree angle, line up the corner and the edges, this time there will be no notches to guide you on this join, there will be a twist on one end of the fabric, it looks strange but is necessary, pin and mark the sewing line if necessary from the corner point of the top piece to the corner point of the bottom piece. We need to sew across the corner not into it!


Sew the seam on the line, this can be tricky to manoeuvre but if can be done with patience. Before trimming open up the piece and check that it will lay straight and is not twisted.

Again, before trimming check the binding isn't twisted, it is a good habit to get into. Trim off the corner to a quarter inch seam on the pin side

Close the gap with your quarter inch seam

I usually hand stitch my binding to the back of the quilt using a slip stitch or a ladder stitch, a fine needle and a thread that matches the binding, the above photo shows how the corners just fold into place easily and give a mitred corner.


All done and ready for delivery back to my customer.
End note!
I usually add a 2.25 inch double fold binding, if you wanted a binding to make more of a statement then you could cut your binding strips at 3 inches wide, this would mean that the end cut would also overlap by 3 inches, whatever the cut width of the binding strip is the width of the overlap.
Also, if you cut a 3 inch binding strip this needs to be sewn on with a 5/8th inch seam so that the binding is full of quilt and the corners naturally fall into the mitre. Machine sew all of the binding onto the quilt with a 5/8th inch seam, stopping 5/8ths inch before the corners. Play with this measurement and the needle position on your machine to get the correct needle position and seam width for the binding width of your choice.


